
Are you planning a party or looking for a unique way to display treats and gifts? One creative and fun solution is to make your own decorative boxes at your party using scrapbooking sheets. Not only are these boxes easy and affordable to make, but they also add a personalized touch to any event. Let’s explore how to craft these boxes and delve into some imaginative uses for them.
Materials:
- A square piece of paper, scrapbooking sheets are perfect! (If you’re making a box with a lid, you’ll need two sheets of paper—one for the box and one slightly larger for the lid.)
Instructions for the Base of the Box:
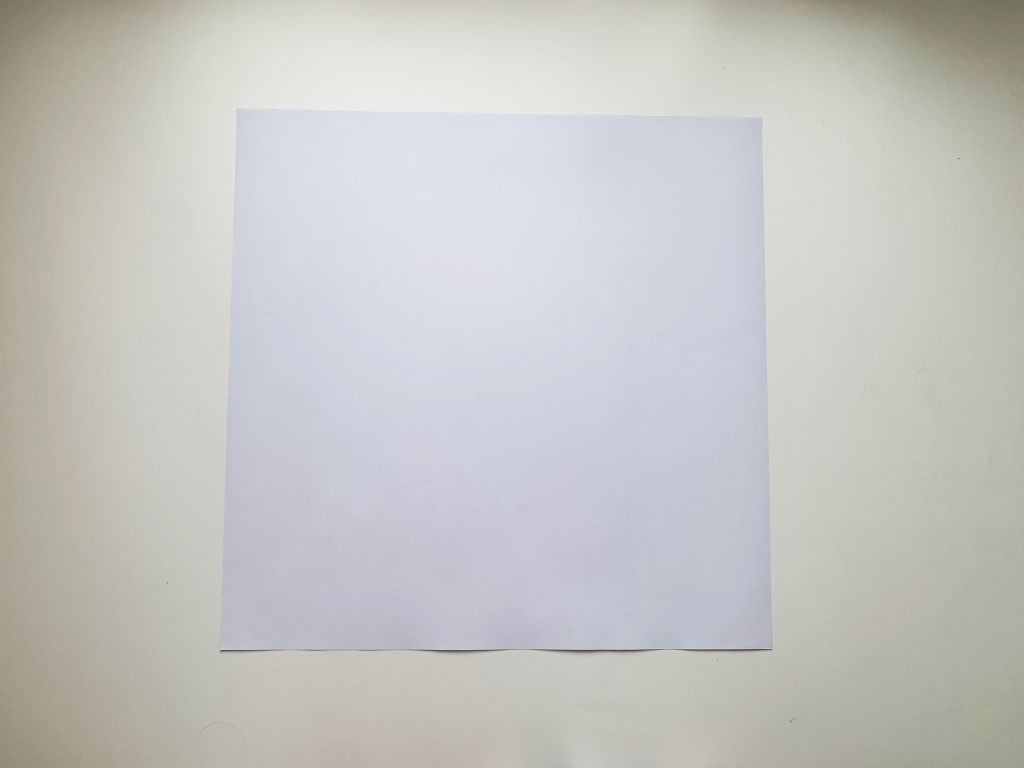
- Start with a Square Sheet:
- Place your square piece of paper on a flat surface with the color side facing down.

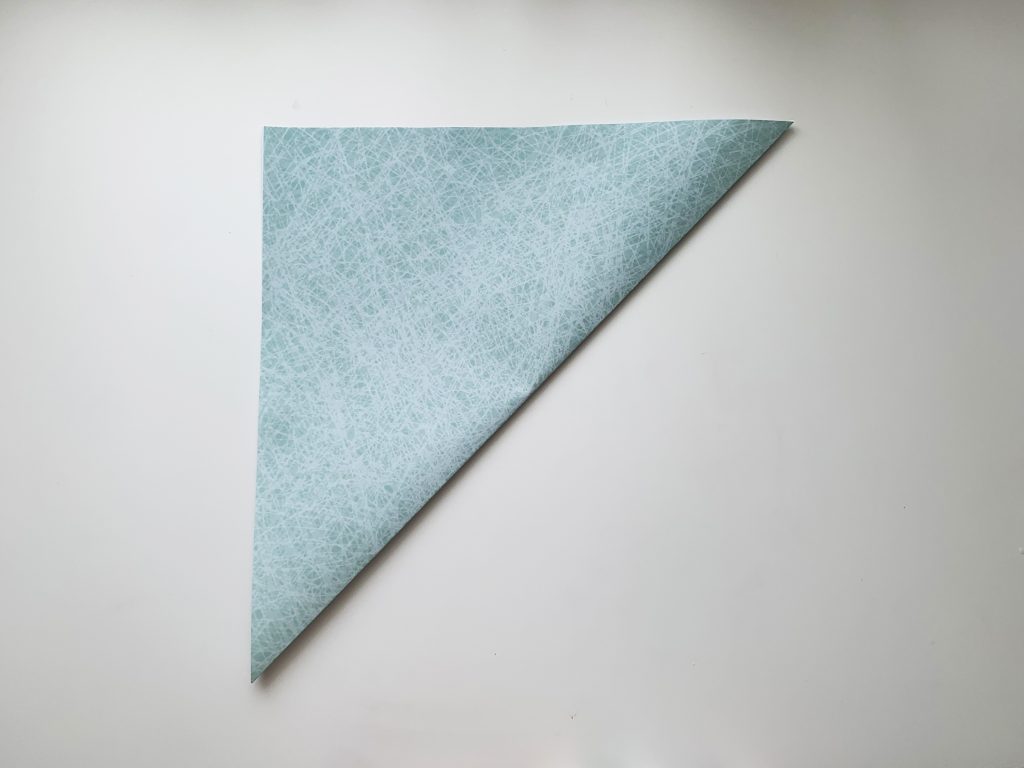
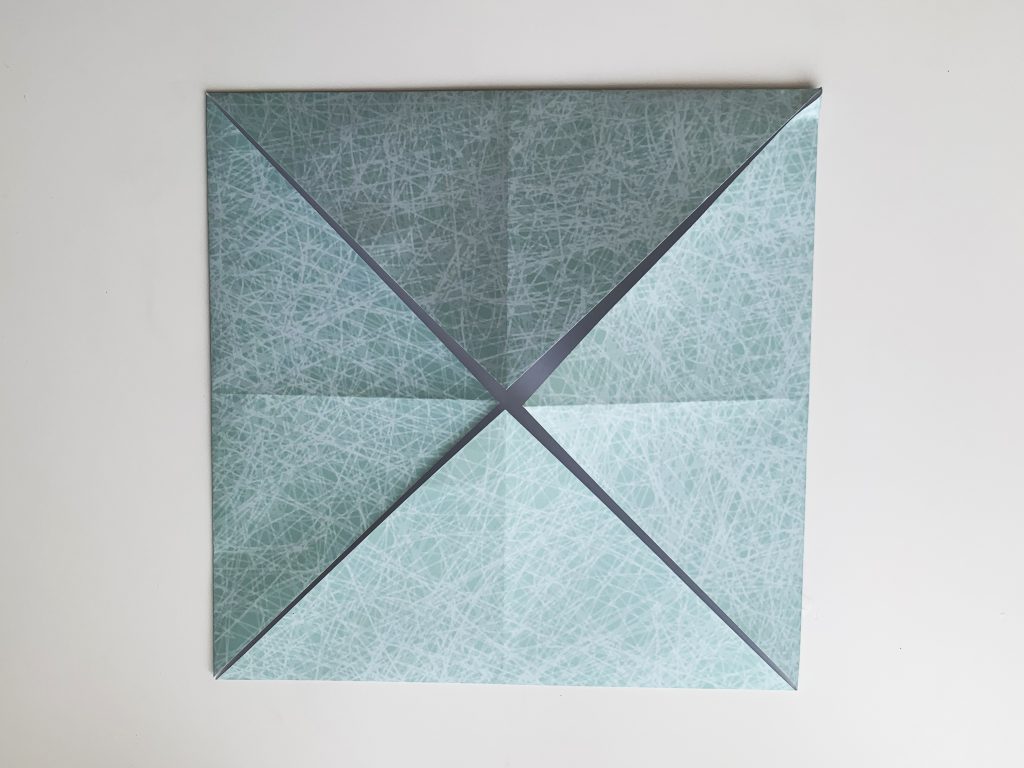
- Fold in Half:
- Fold the paper in half horizontally, crease well, and unfold.
- Then fold it in half vertically, crease well, and unfold again.
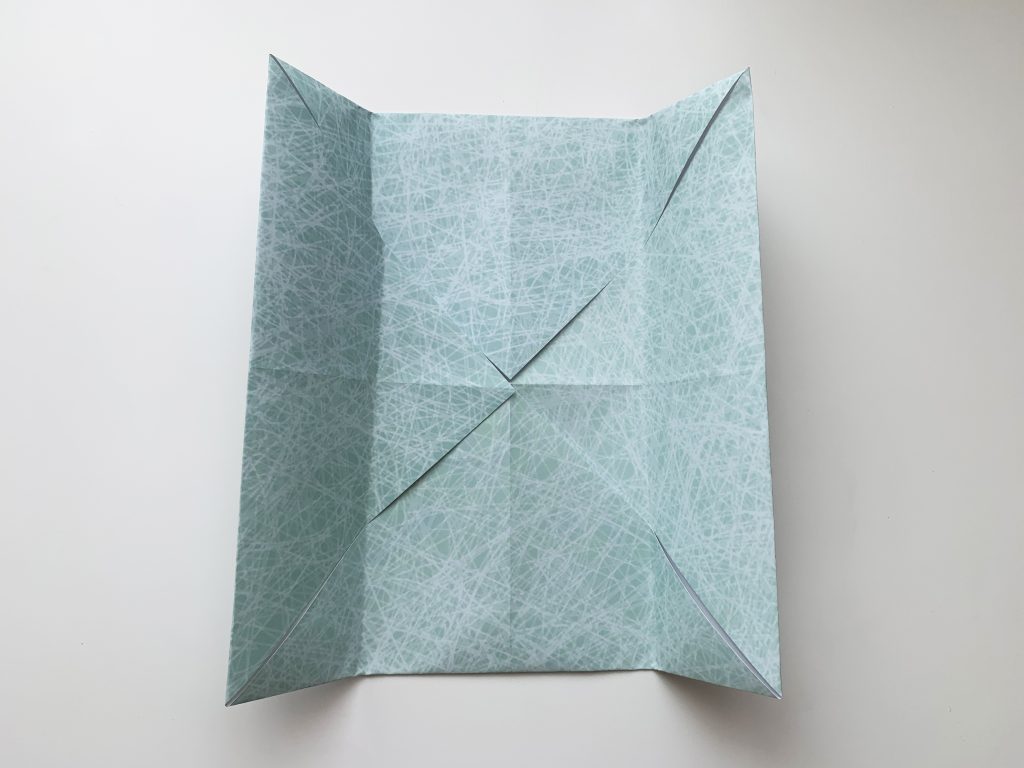
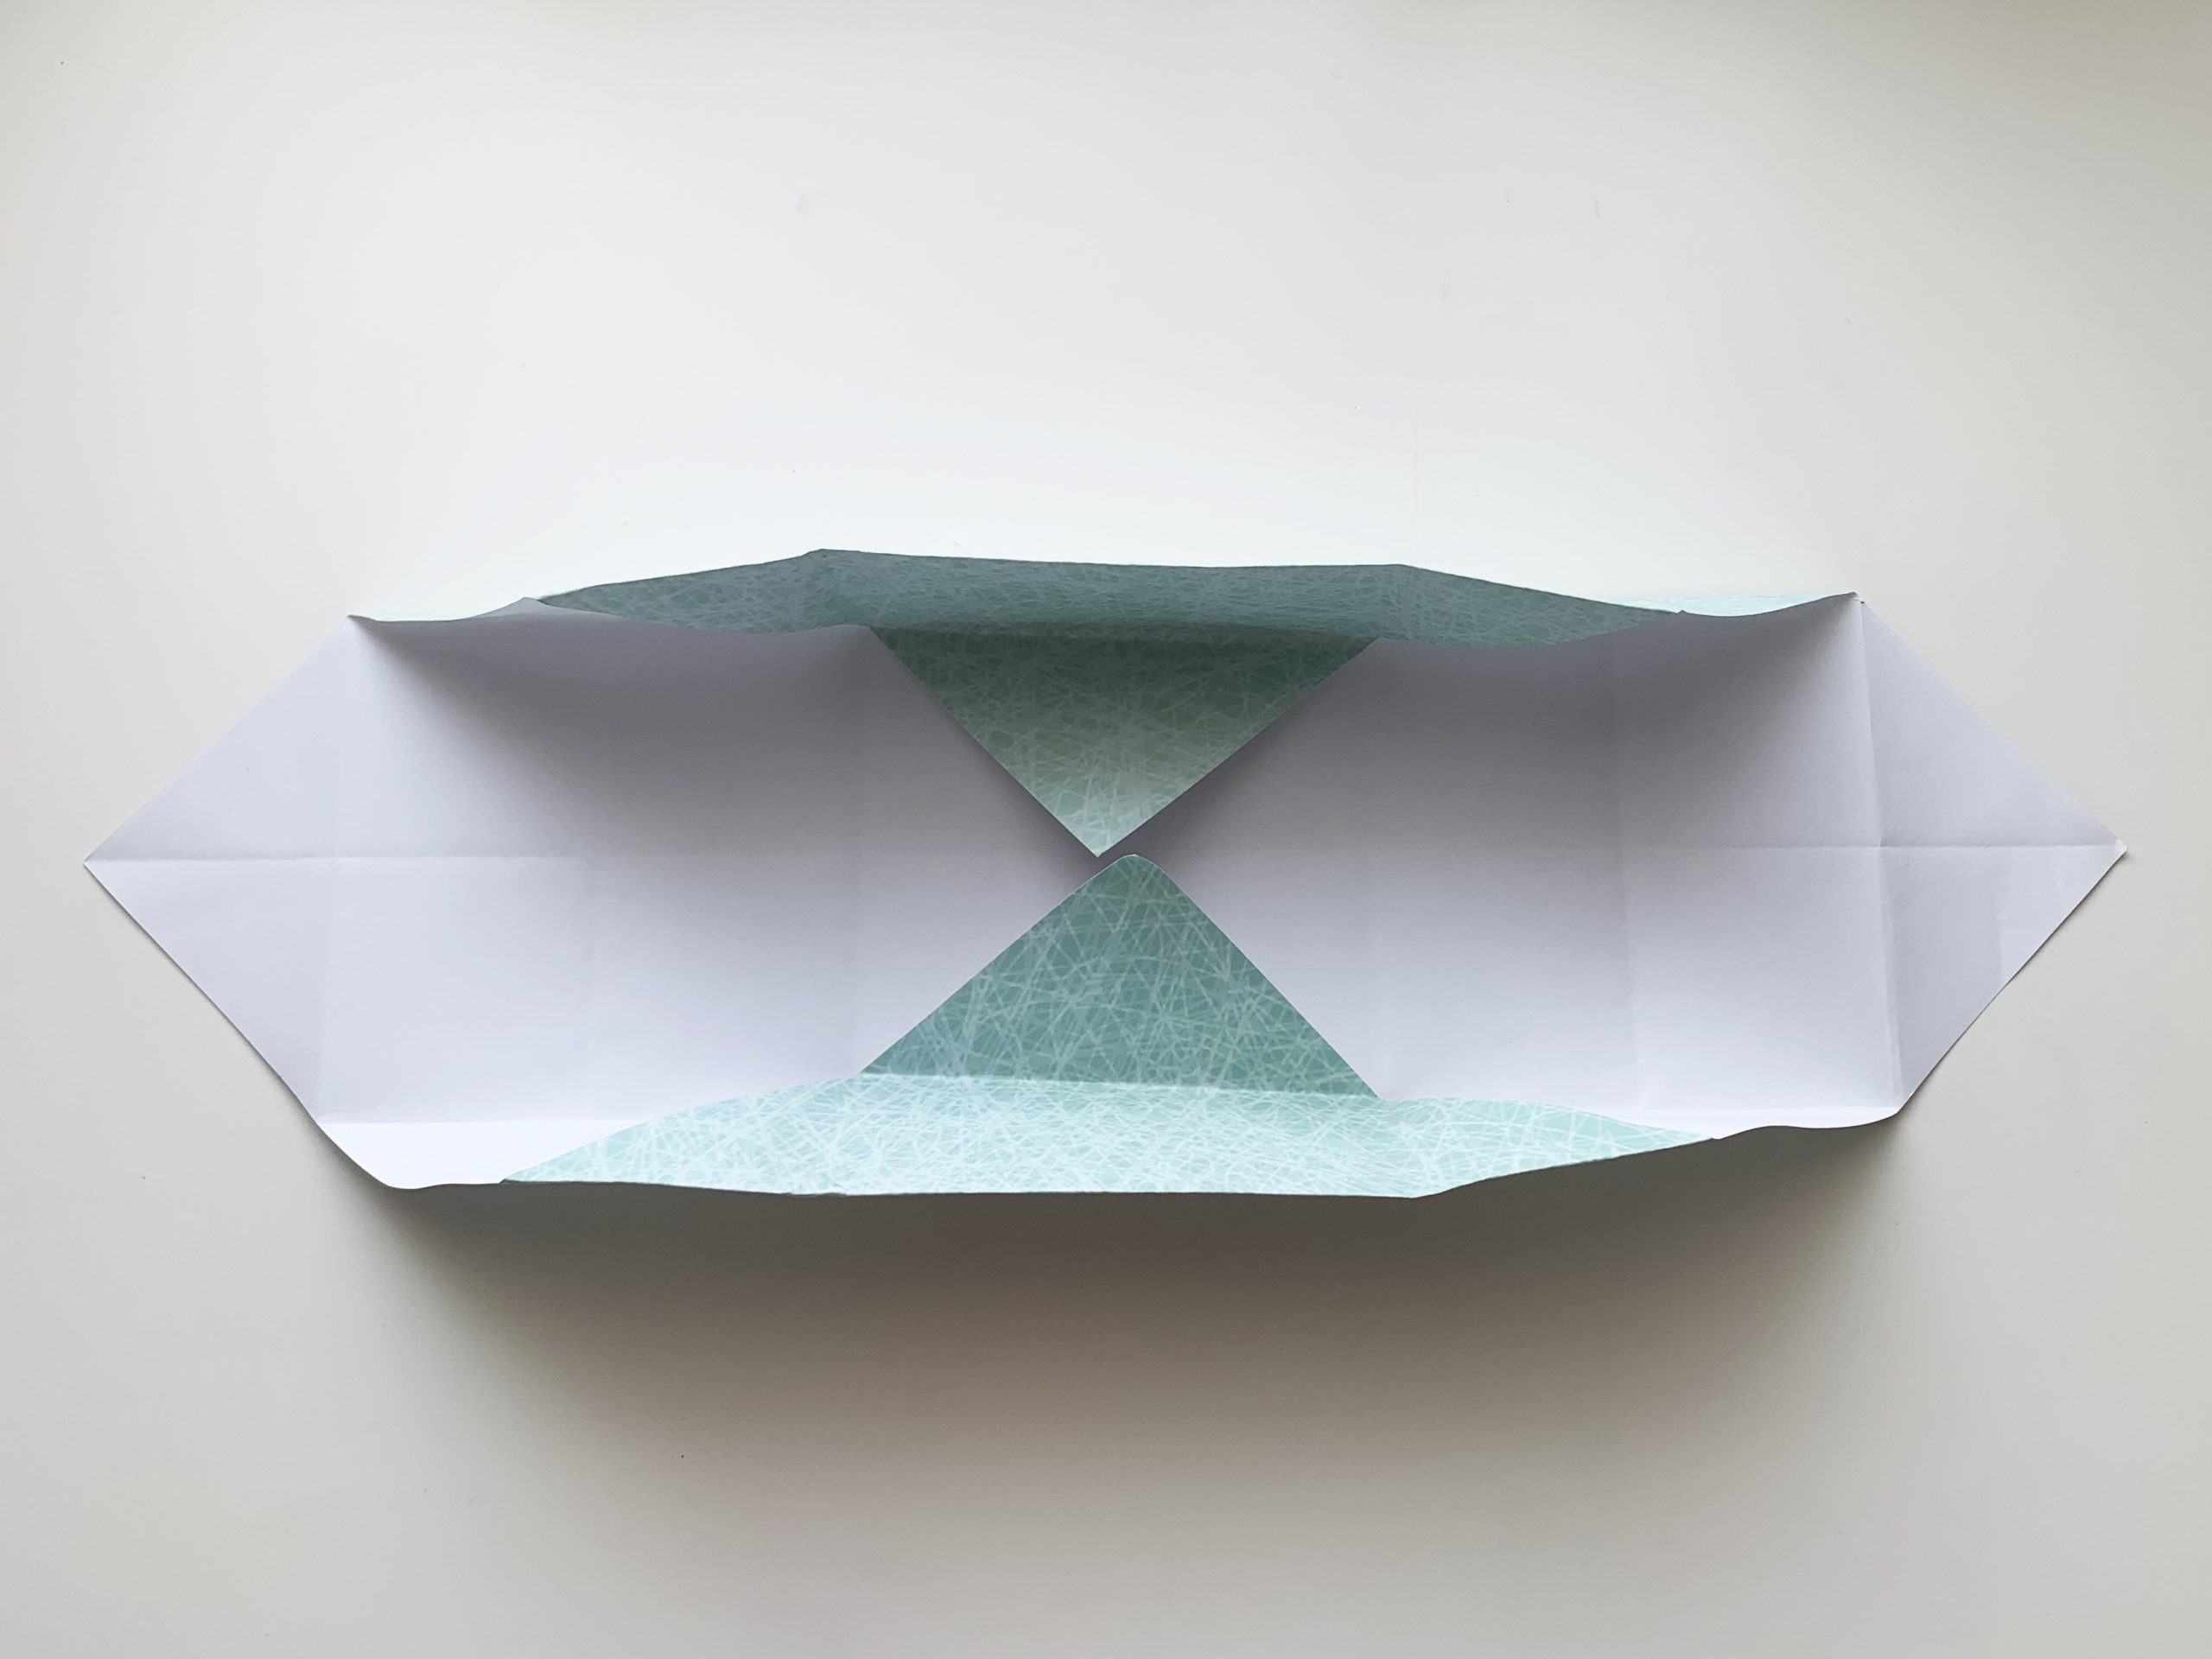
- Fold to Center:
- Fold each corner of the square into the center, meeting at the point where the first two folds intersect.
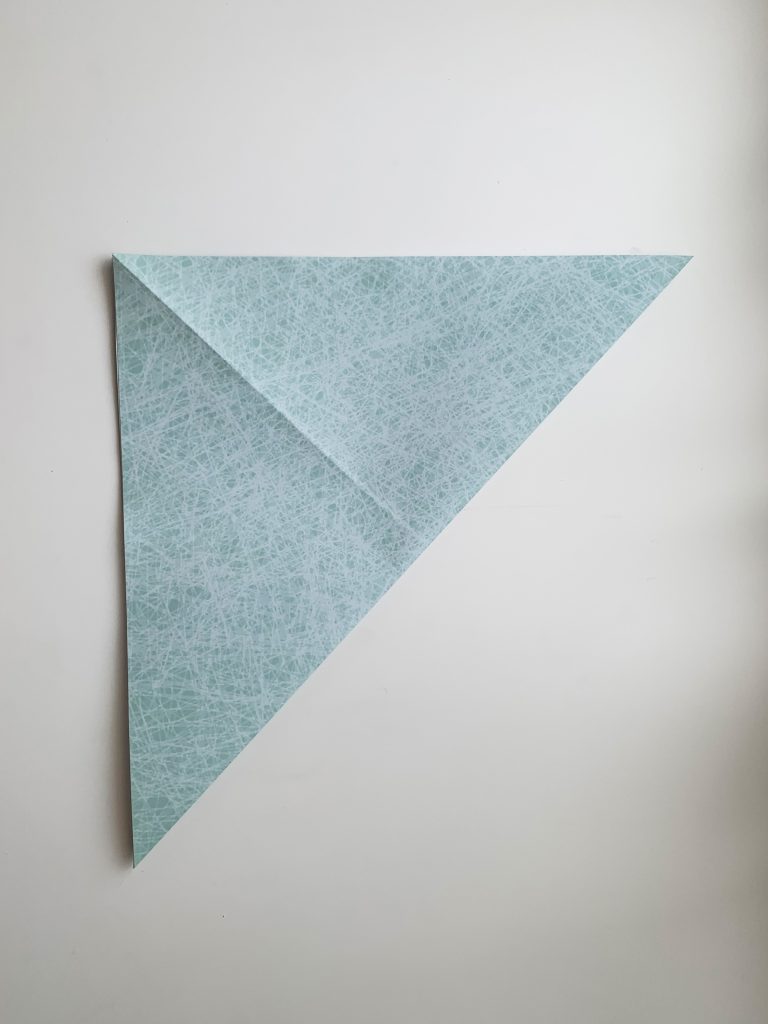
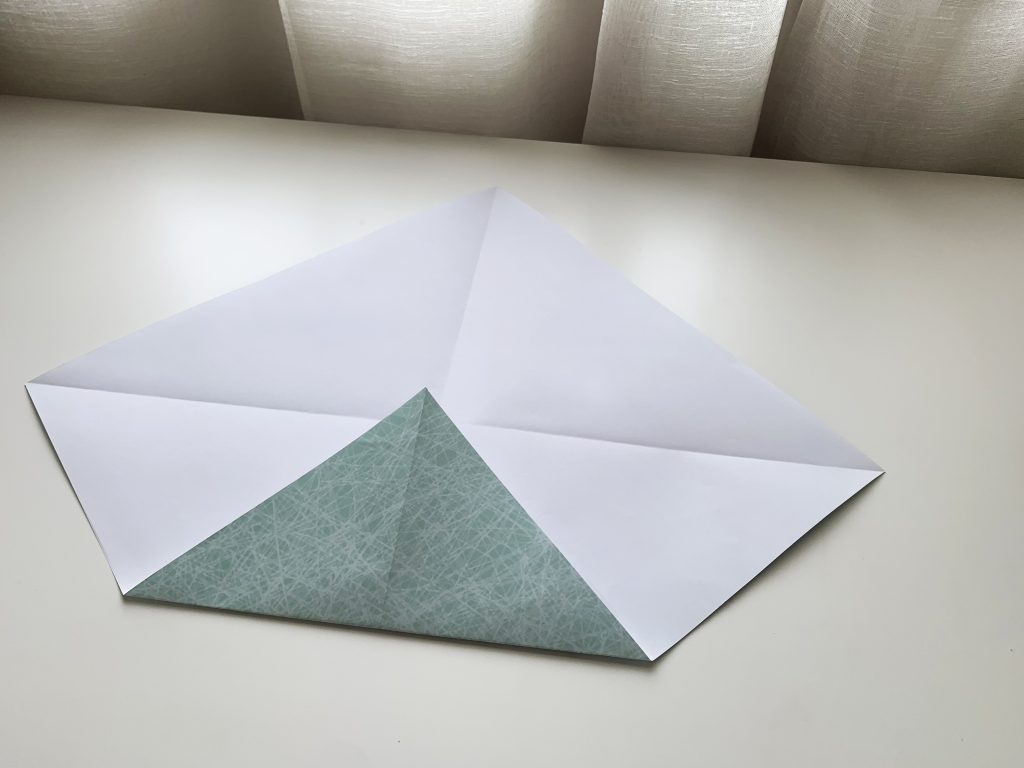
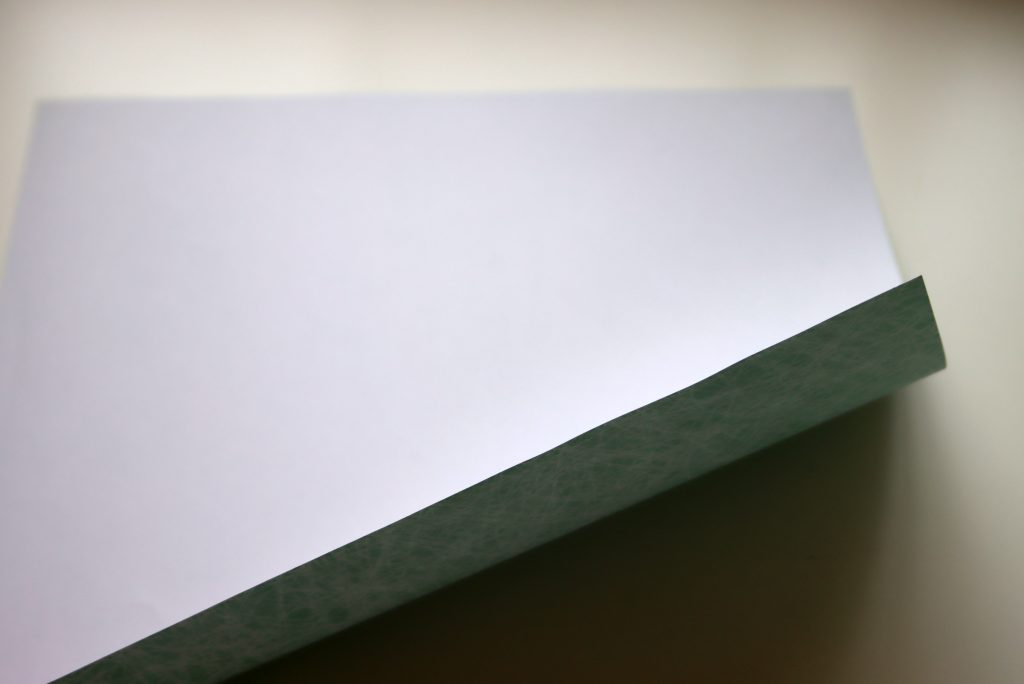
- Create the Walls:
- Fold each edge into the center line. You will see a smaller square forming as you do this step.
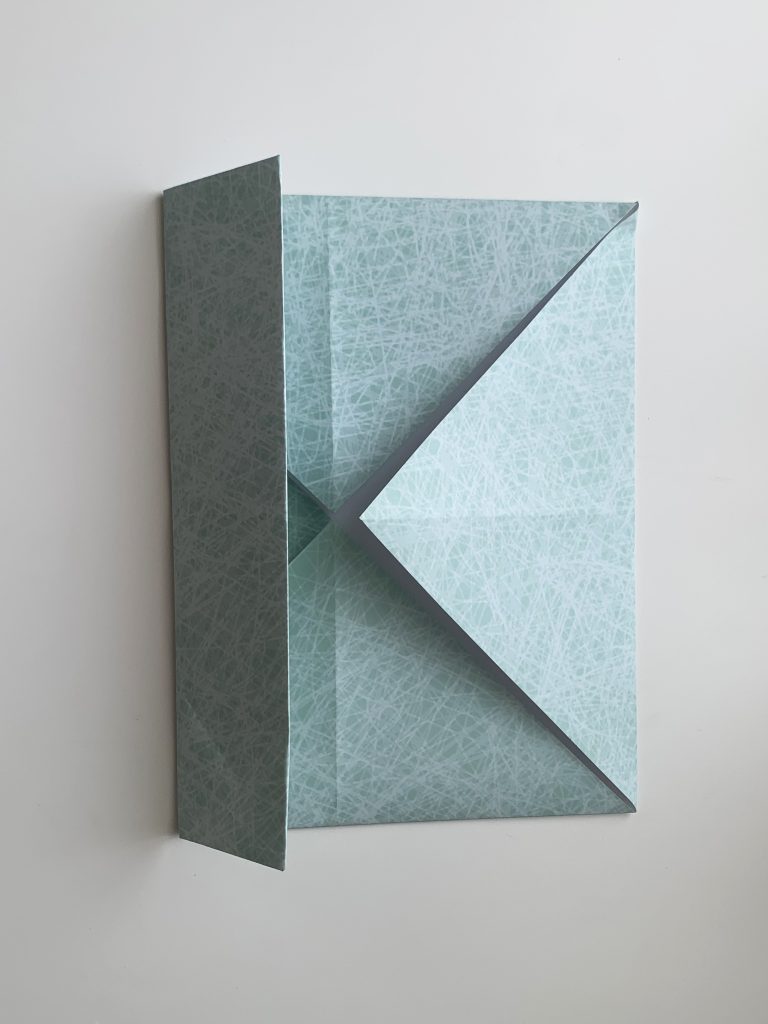
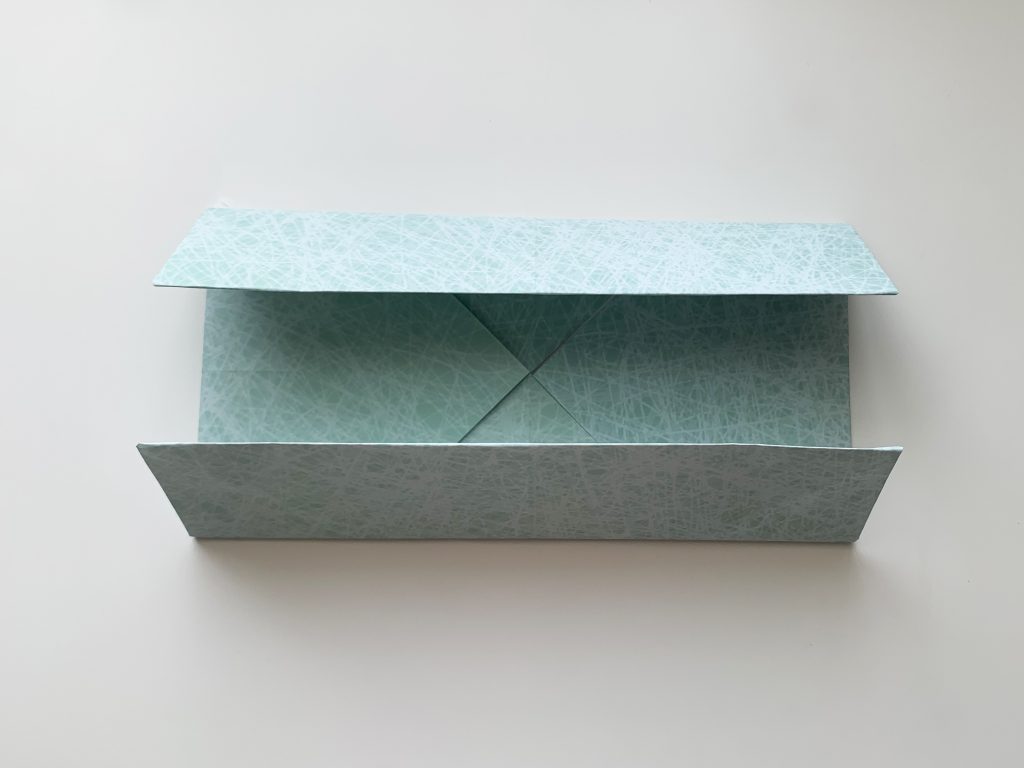
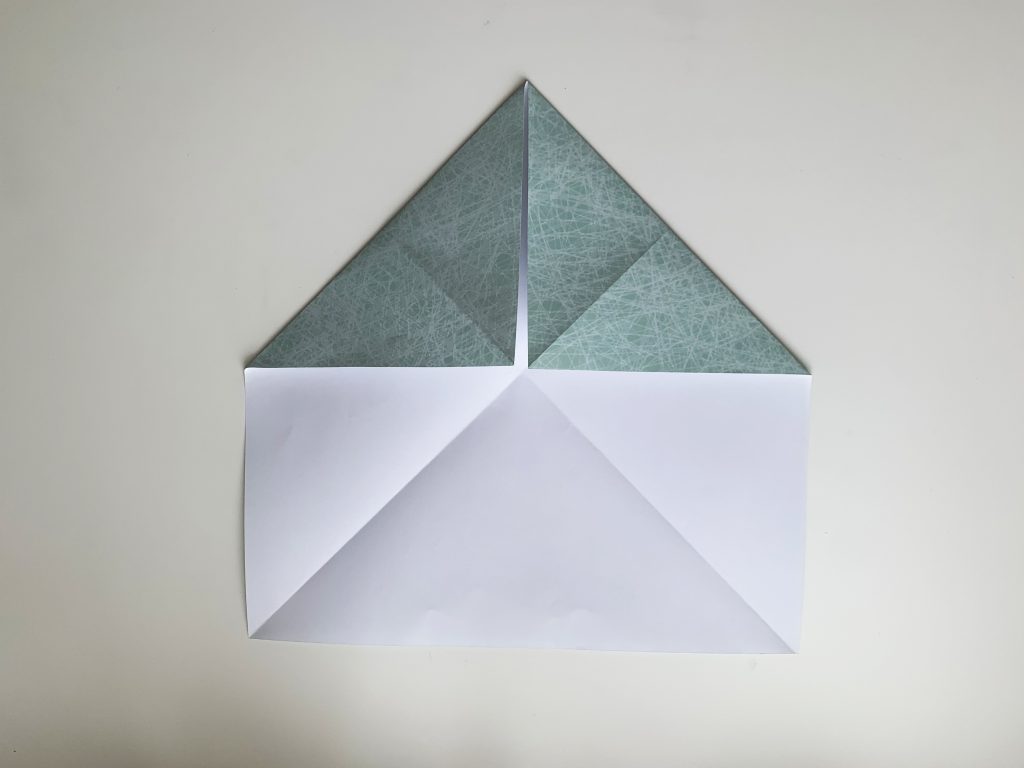
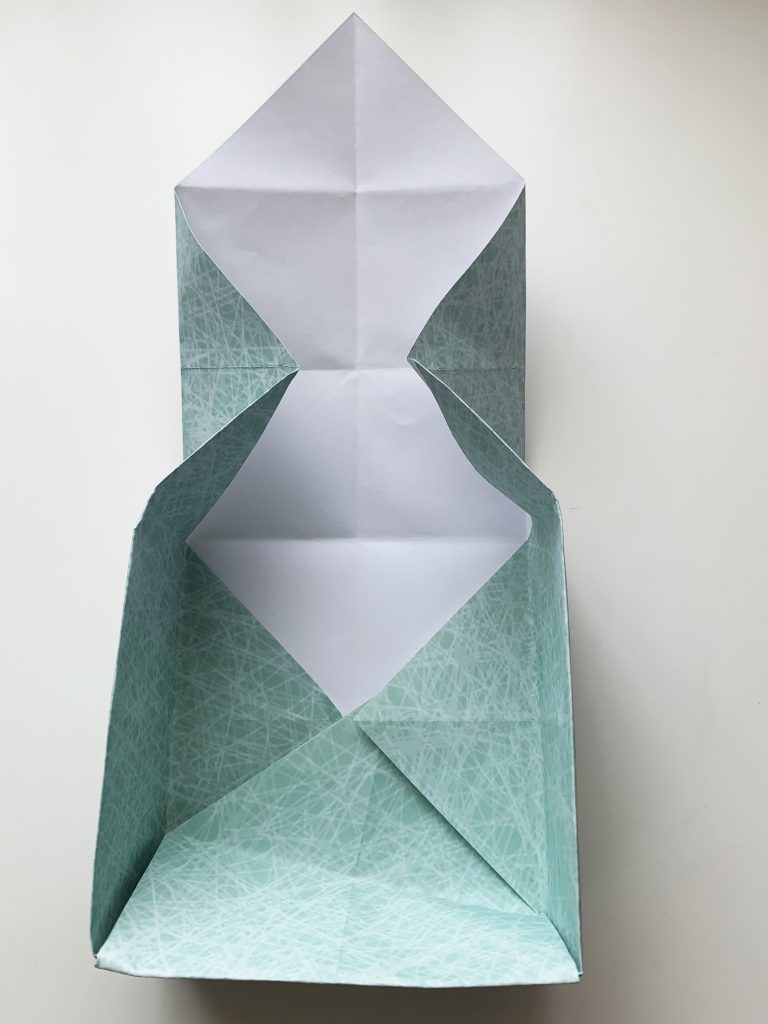
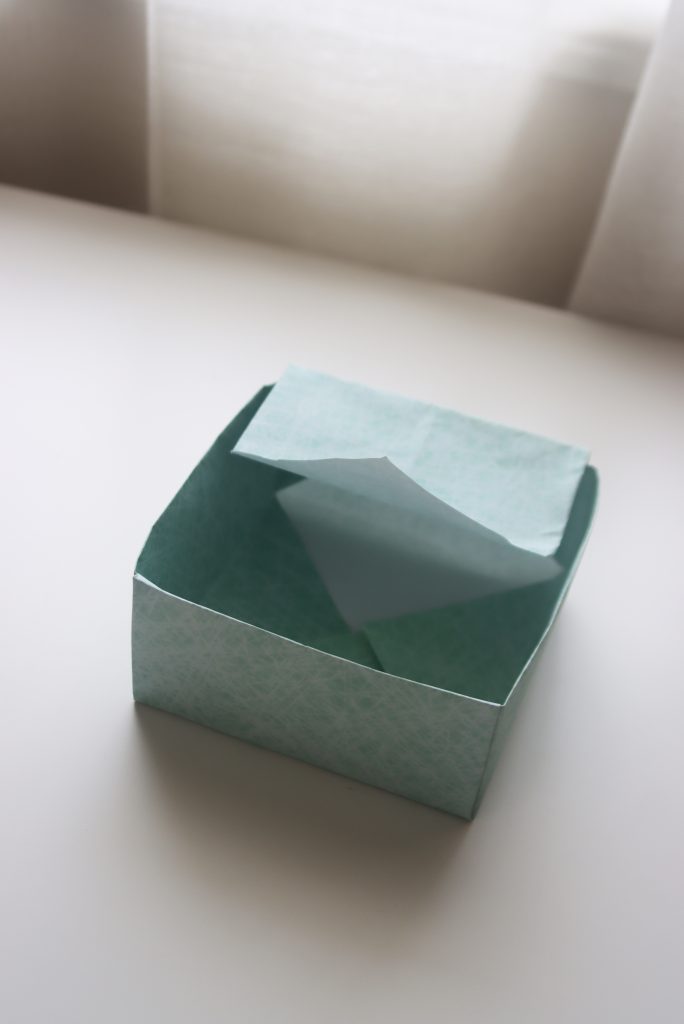
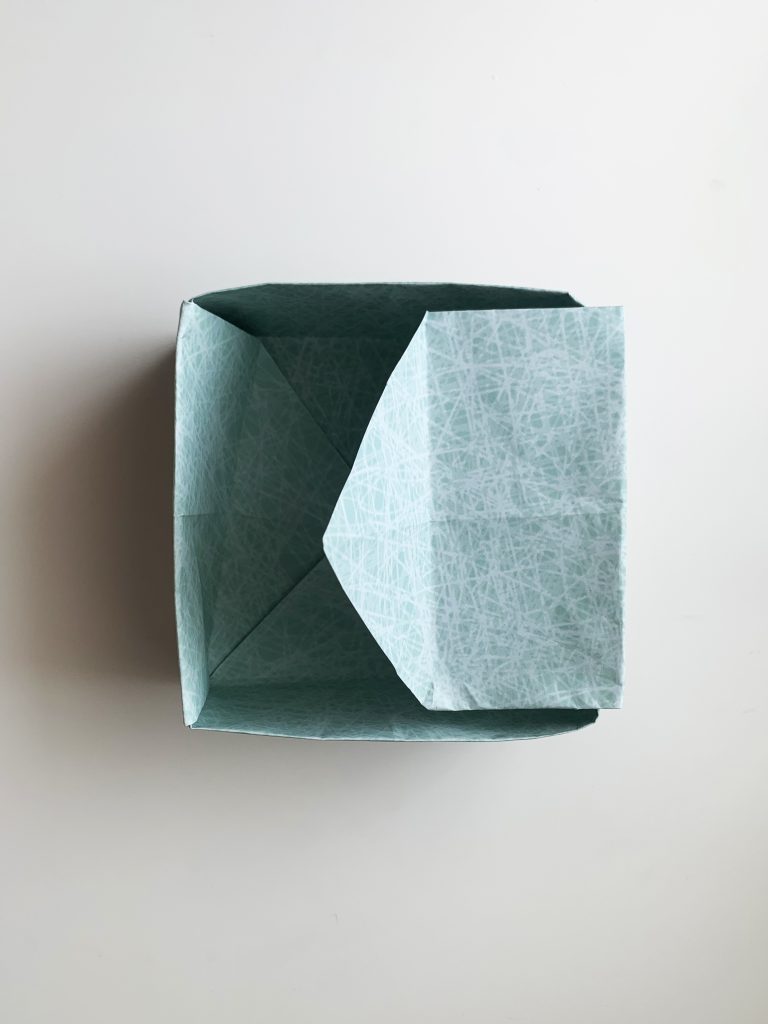
- Form the Box Shape:
- Unfold the edges and corners slightly.
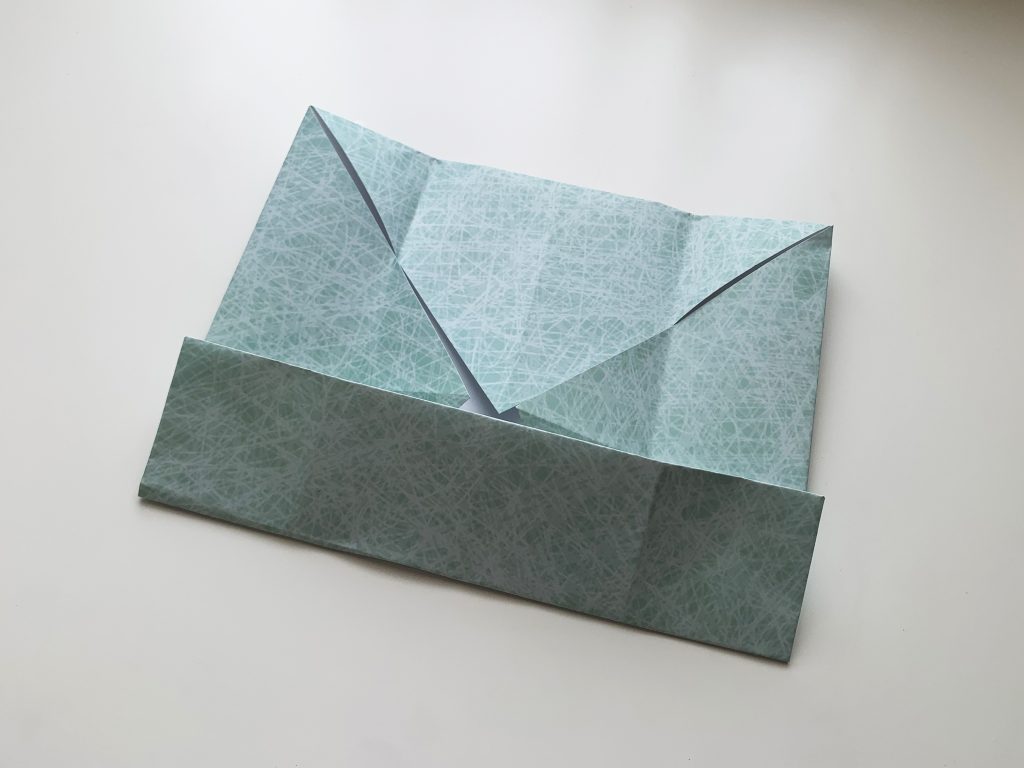
- Lift one corner, bringing the adjacent sides up to meet at the top, forming two sides of the box wall.
- While holding these sides up, fold the flap from the corner over the two sides to secure the wall. Repeat this on the opposite corner.
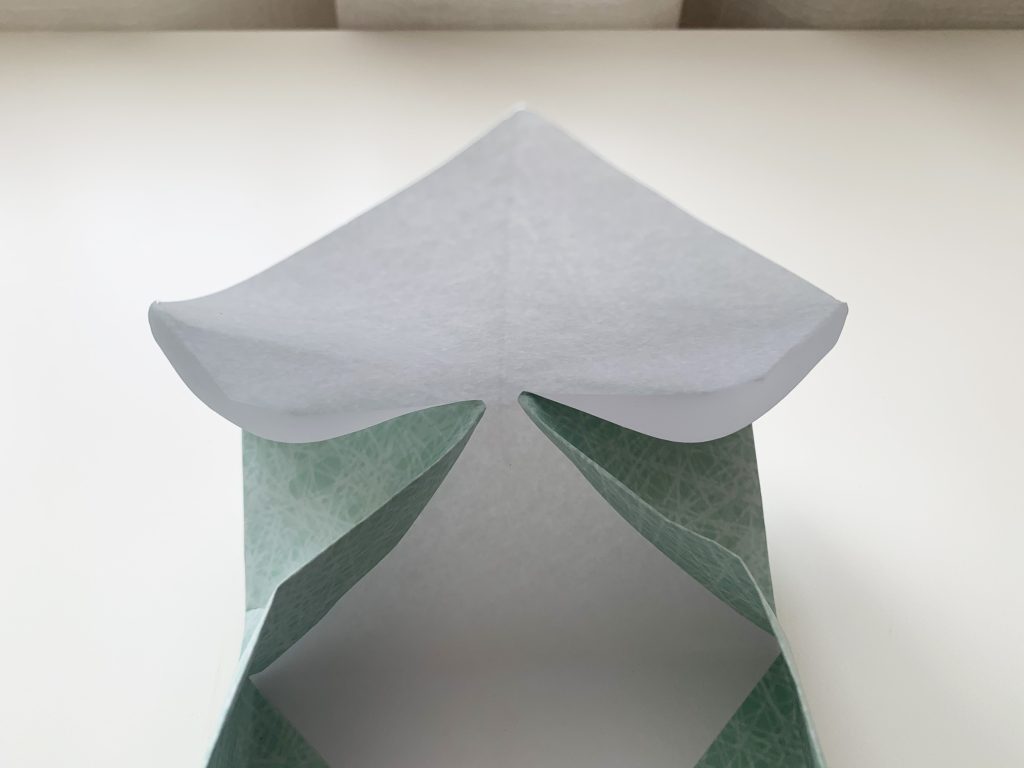
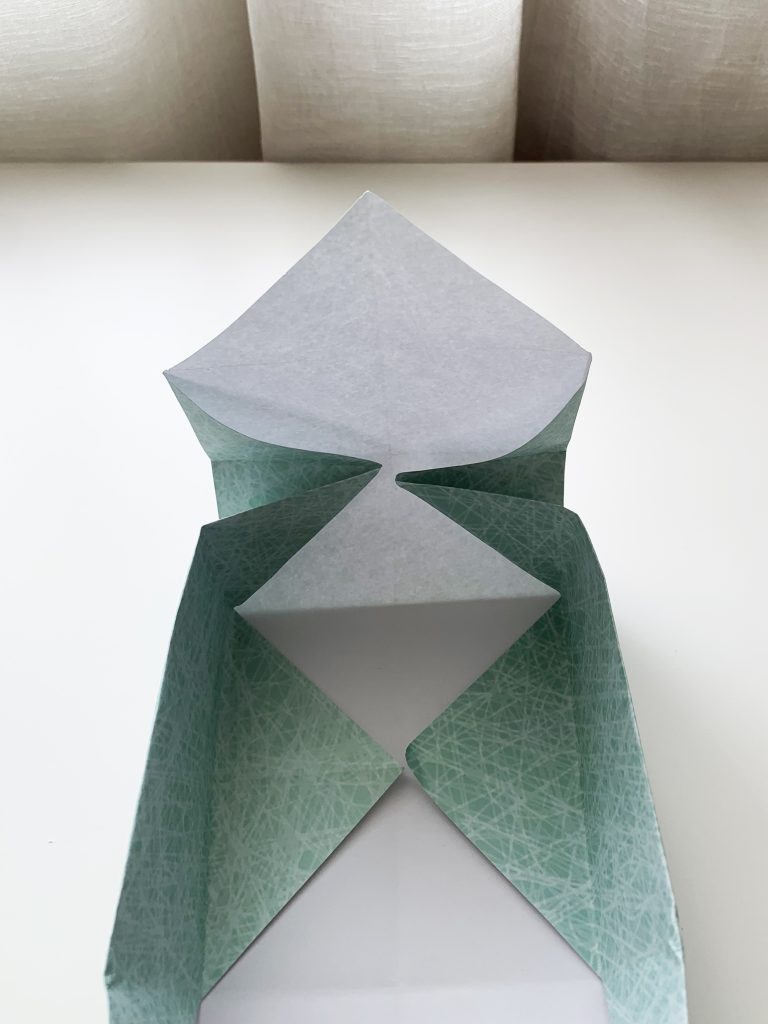

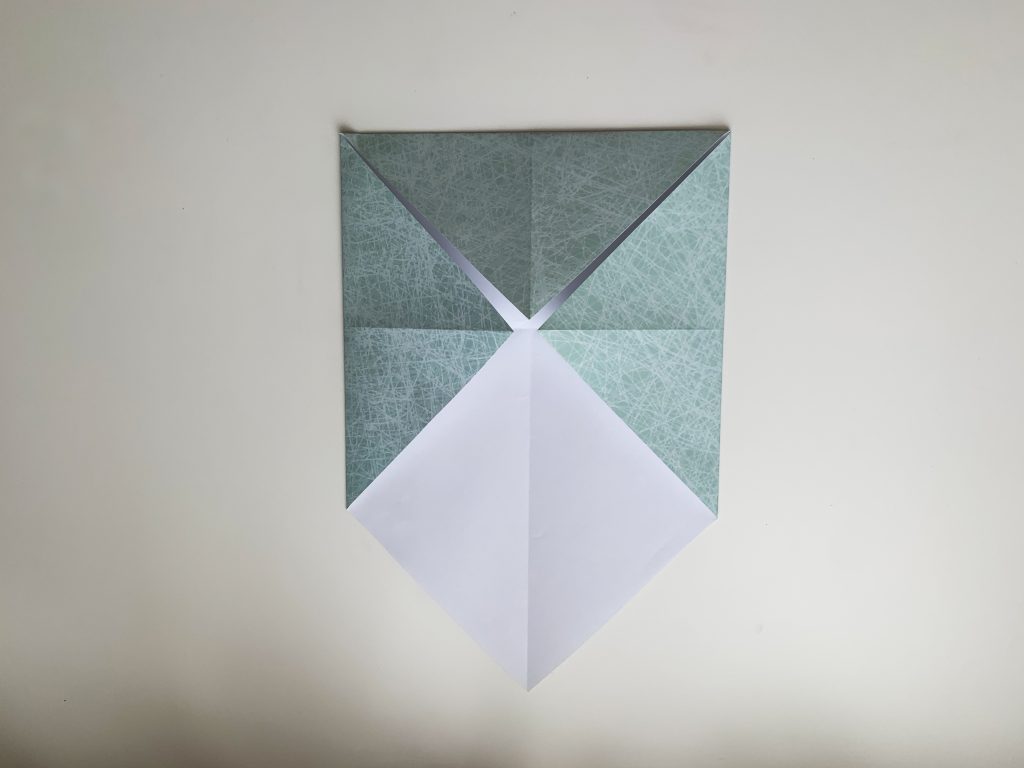
- Secure All Sides:
- Repeat step 5 on the remaining two corners to form a complete box shape. Crease all folds well to strengthen the box.
Instructions for the Lid (if making):
- Use a piece of paper slightly larger than the one used for the box base (if your base used an 8-inch square, use an 8.5-inch square for the lid).
- Repeat the same steps as above. The extra size will allow the lid to fit nicely over the base.
Tips for Success:
- Make sure all your folds are sharp and crisp.
- Use paper that is not too thin; sturdier paper holds the shape better.
- If your box feels a bit loose, use a bit of glue or double-sided tape on the inside flaps to secure them.
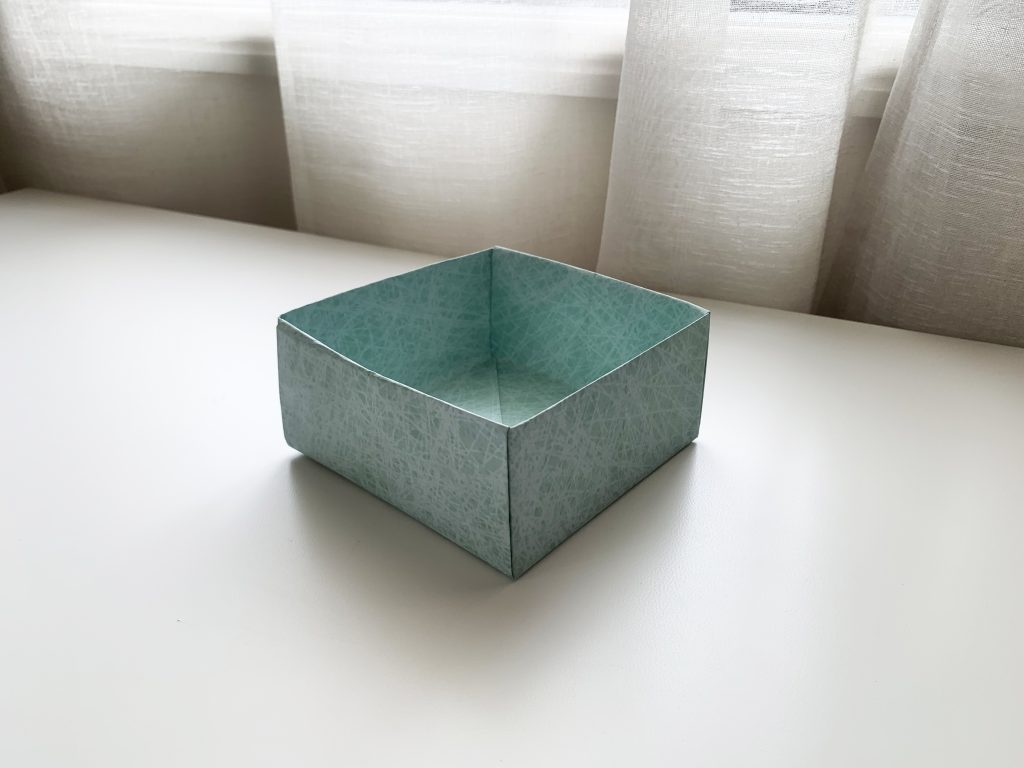
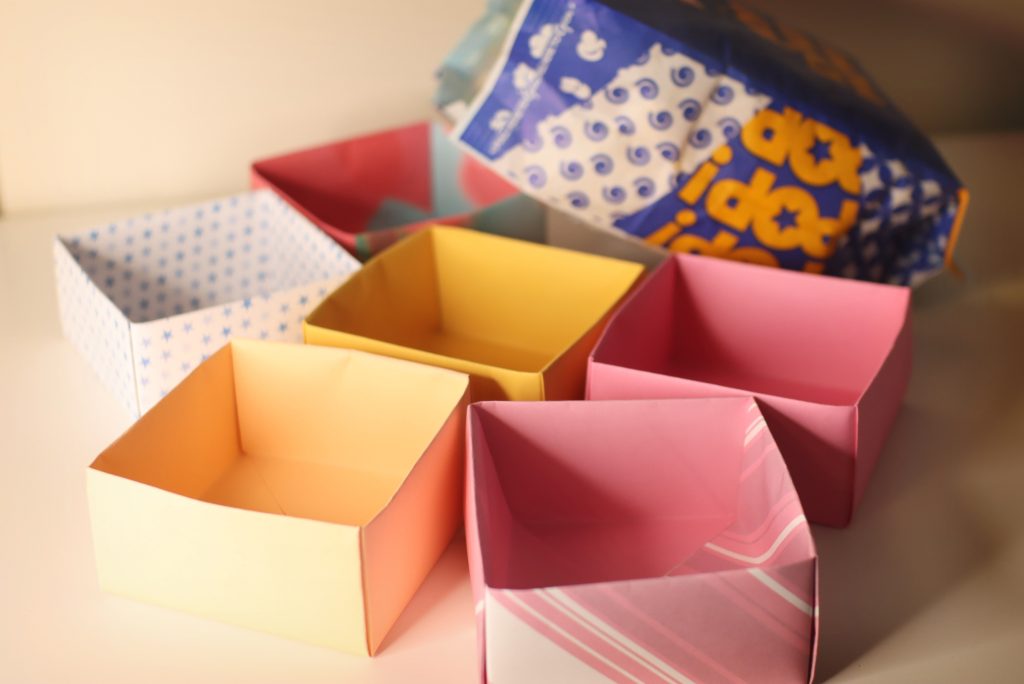
Now you have your very own handmade origami box! These boxes are great for storing small items or giving gifts. Experiment with different paper sizes and textures to create a variety of boxes. Enjoy your crafting!
Using Your Boxes at a Party:
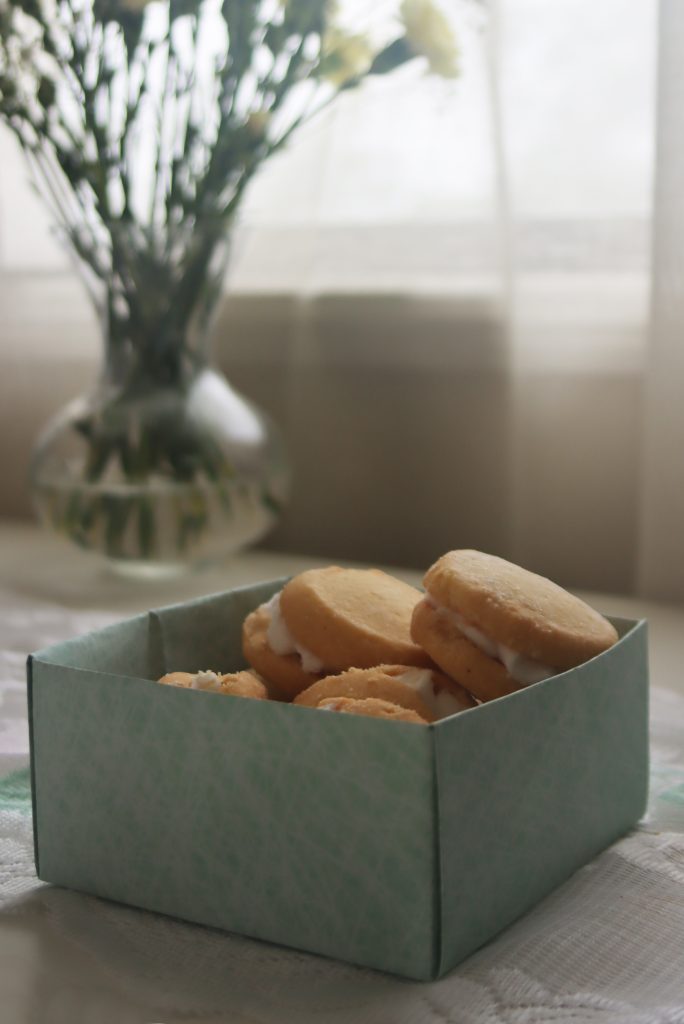
- Gift Boxes: Fill them with small gifts, candies, or handmade items for birthdays, weddings, or as party favors. Personalize each box to make your guests feel special.
- Plant Holders or Floral Display: Line a box with a plastic bag and use it as a container for small plants or succulents, or insert your flower foam and get creative with a beautiful floral arrangement.
- Photo Boxes: Fill with photos, postcards, or other memorabilia.
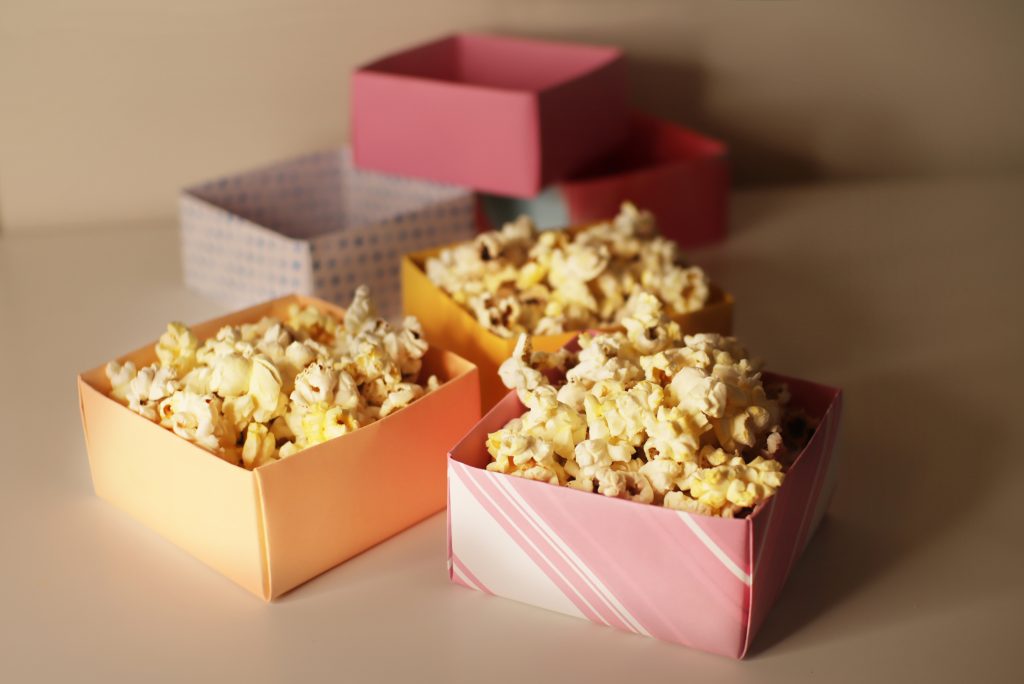
- Sweet and Savoury Serving Solutions: Coordinating your colours and filling with a selection of delicious party treats makes for a stylish presentation on your party table.
- Popcorn Containers: These handmade boxes are perfect for holding popcorn at a movie-themed party or any casual gathering. The scrapbooking sheets can be chosen to match the theme or color scheme of your event, making your snack display both fun and stylish.
Final Thoughts
Crafting your own decorative boxes from scrapbooking sheets is not only a practical solution for parties but also a versatile craft that can be adapted for various other uses around your home or as personalized gifts. Whether you’re setting up a popcorn bar at a backyard bash or giving a unique gift, these boxes are sure to impress. So, grab your materials and let your creativity flow!